Tool
Shingle bundle calculator
Field, starter, cap and nails for the whole roof.
Updated 2026-10-18 · 10 min read
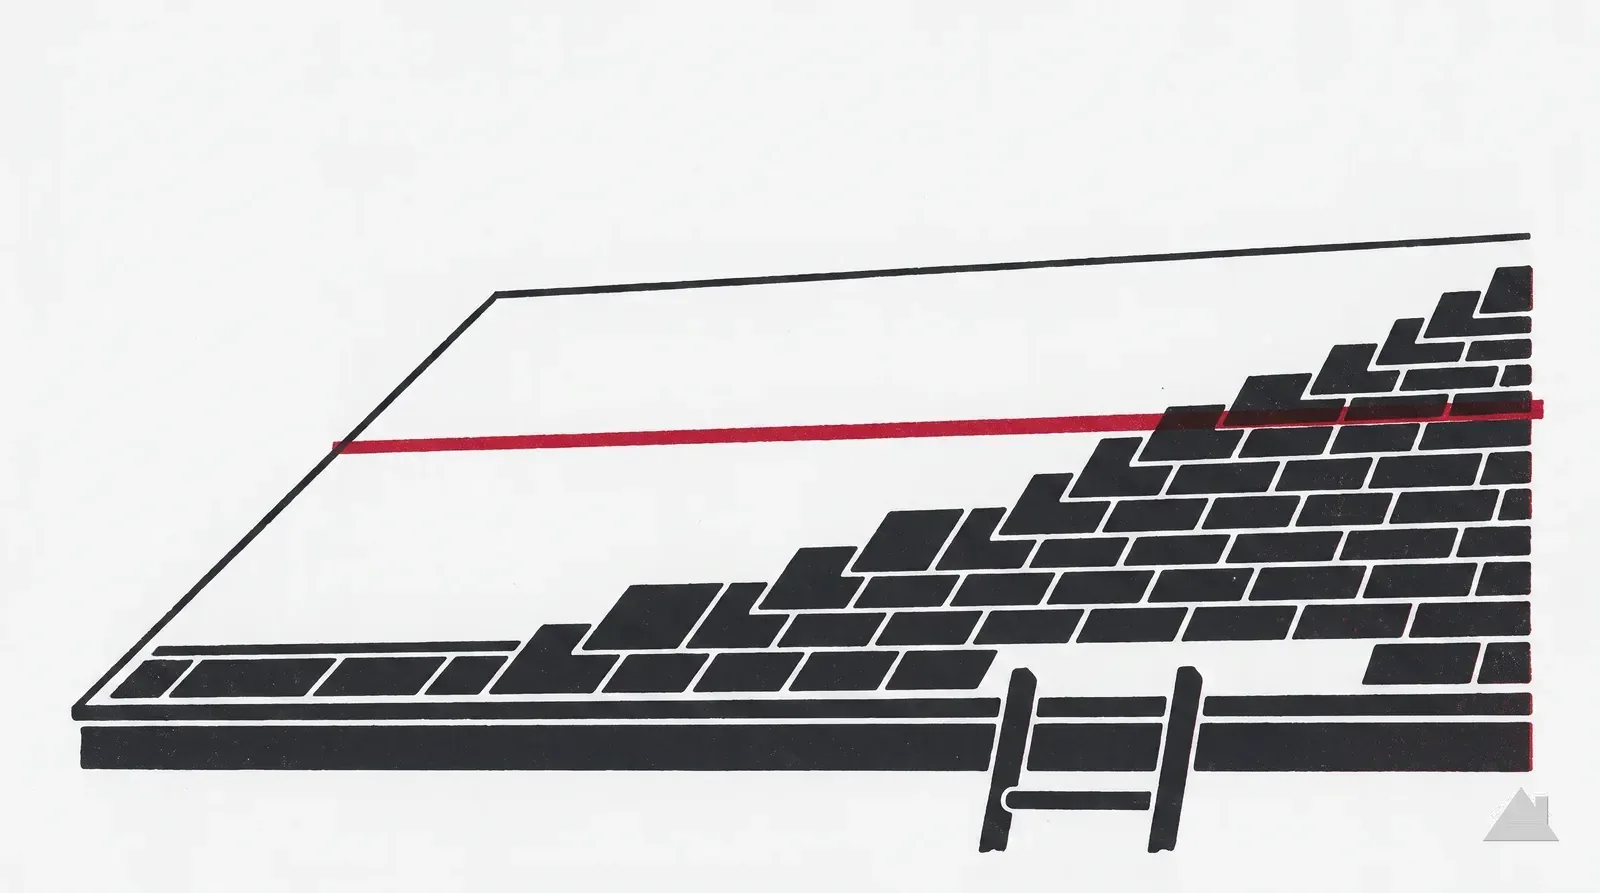
A shingle roof is laid bottom to top, and every layer laps the one below so that water always runs over a joint rather than into it. Deviating from the order is how roofs leak while looking finished.
The eave-versus-rake reversal at steps three and five catches people constantly — the drip edge guide explains why it is that way round.
Every laminate shingle has a narrow band — usually marked on the shingle — where the fastener must land: through the common bond of both layers and beneath the course above. High of it and the nail is exposed under the next course’s seal line; low of it and the nail head shows. Either way the wind rating is void and the manufacturer will say so.
The code minimum is 4 fasteners per strip shingle, 12-gauge (0.105 in) shank, 3/8 in head, long enough to penetrate the sheathing by 0.75 inch. Manufacturers call for more — commonly six — for their high-wind ratings, and above 21:12 the code hands fastening to the manufacturer’s instructions outright. Gun pressure matters as much as placement: overdriven nails cut the mat, underdriven ones hold the course off the deck.
Six nails is not optional in a wind zone
Manufacturers publish a six-nail pattern for high-wind ratings, and the rating on the wrapper assumes it. 4 nails on a coastal roof is a code minimum met and a warranty lost.
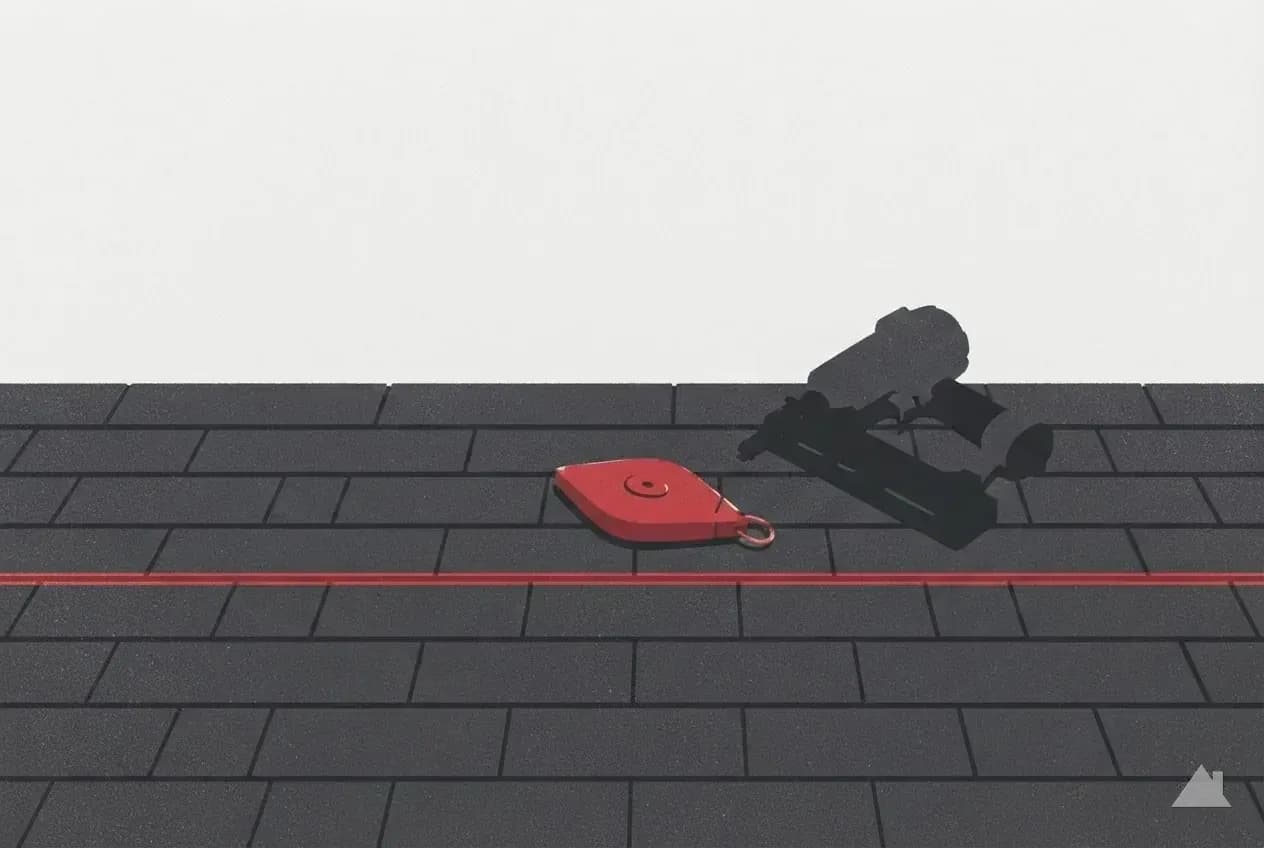
Exposure is how much of each course shows — 5 5/8 inches on a standard laminate such as GAF’s Timberline HDZ, per its installation instructions — and it is set by chalk lines snapped up the roof, not by eye. Drift a sixteenth of an inch per course and by the ridge you are an inch out and the cap will not sit.
Offset is how far each course is shifted sideways from the one below. It must follow the manufacturer’s pattern: the offset places the joints so that water reaching a joint lands on solid shingle two courses down. A racked or stair-stepped pattern that ignores the spec puts joints in line and gives water a path.

Valleys are decided before the field goes on — open, closed-cut or woven; the valley guide covers the choice. Penetrations get new boots and new flashing, woven into the courses as they rise rather than sealed on afterwards; the flashing guide has each detail.
The ridge is last: cut the vent slot, set the ridge vent, then cap over it working away from the prevailing wind so no cap’s exposed edge faces the weather. Count the cap and starter on the bundle calculator before the truck leaves.
Field, starter, cap and nails for the whole roof.
Steps three and five, explained.
What goes on the deck before the shingles.
Swapping one shingle without breaking the nail pattern.
Order the layer that goes down before the shingles.